Senin, 29 April 2013

Don't Judge a Book (or bar) by Its Cover.

You know how sometimes a dessert isn't the most gorgeous thing in the world, but it IS the most delicious?
raspberry swirl cheesecake bars with oreo cookie crust | bake at 350
This is the case with these Raspberry Swirl Cheesecake Bars.  Not that they're *ugly,* but they're not going to win any beauty contests, either.  But ohmygosh...I could have inhaled the entire pan.
(I limited myself to 2.5 per day.)

Here is a universal truth in baking:  Any recipe that starts with this...
birthday cake oreos for chocolate crust | bake at 350
...can't be wrong.

{If you ever see a recipe that calls for "chocolate wafer cookies," feel FREE to use Oreos minus the cream filling.  I used Birthday Cake Oreos for these.  What you do with that cream filling is between you and your kitchen walls.  Thank goodness my walls don't talk.}

raspberry cheesecake bars with oreo crust
Alrighty, so after giving the Oreos a good whir in the blender or food processor and adding some melted butter, you'll make a cheesecake filling.

The cheesecake is flavored with vanilla and a touch of almond.  I love that bit of almond.

raspberry cheesecake bars preserves photo raspberrycheesecakebarspreservesrounded.jpg
Then, you'll mix up some raspberry preserves and fresh lemon juice...
raspberry swirl cheesecake bars with oreo cookie crust | bake at 350
...and swirl it all around.

raspberry swirl cheesecake bars with oreo cookie crust | bake at 350
As the cheesecake bars bake, the cheesecake poofs and the raspberry swirl nestles right down into the batter.  Mmmm....

And then you eat.  Cool, creamy, tangy, rich, and sigh.
raspberry swirl cheesecake bars with oreo cookie crust | bake at 350
Never judge a bar by its cover, my friends.

For the full recipe, click on over here.


Jumat, 26 April 2013

Just Dandy...

...dandelions.
dandelion cookies | bake at 350
OK, so maybe they're technically weeds, but they are so hard not to love.

dandelion cookie how-to | bake at 350
Come on over to Parade to see the tutorial on how to make them.
Really, come on over.  :)  They're such EASY cookies to make...and making cookies sure beats pulling weeds.

{psst...if you're a dandelion lover, check out Curly Girl Design's sweet dandelion card! It was one of my inspirations when creating these cookies.}

Rabu, 24 April 2013

Hold Your Horses

Every year, the end of April/beginning of May means one thing around our house: horse cookies.
kentucky derby cookie tutorial | bake at 350
Surrounded by horses for weeks, this is the closest I'll ever get to living like The Pioneer Woman.

My dad helps to host a charity event in Amarillo the day of the Kentucky Derby every year...and every year horse cookies are on the menu.  The problem is that horse cookies don't ship well.  You see, they have thin legs, and necks that stick out.  Not the ideal shape for shipping.

kentucky derby cookie tutorial | bake at 350
After lots of begging, and maybe a few tears on my part, my dad finally gave in to letting me add some horse head cookies into the mix.  I think I like them better than the full horses (maybe it's the eyelashes)...and I know they'll arrive to the party in better shape.

kentucky derby cookie tutorial | bake at 350
To make some Kentucky Derby horse head cookies, you'll need:
kentucky derby cookie tutorial | bake at 350
Outline the horses with a #2 tip and brown icing.  Reserve some of this icing for piping details later.

Thin the brown and white icings with water, a bit at a time, stirring with a silicone spatula, until it is the consistency of a thick syrup.  (Reserve some of the blue icing for piping details later.) You'll want to drop a "ribbon" of icing back into the bowl and have it disappear in a count of "one thousand one, one thousand two." Four is too thick, one is too thin.  Count of 2-3 is good.  Cover with a damp dishcloth and let sit for several minutes.

Stir gently with a silicone spatula to pop and large air bubbles that have formed.  Pour into squeeze bottles as needed.

kentucky derby cookie tutorial | bake at 350
Flood the cookies, filling in the outlines. Use toothpicks to spread the icing and pop any large air bubbles that have formed.  Let the cookies dry at least one hour.

kentucky derby cookie tutorial | bake at 350
Add the details. Use a #2 or 3 tip to add the bridle in electric green (or another color).  Add and eye with brown icing using a #2 tip.

kentucky derby cookie tutorial | bake at 350
Use a #2 tip to pipe the mane and nostril.  Switch the tip to a #1 and add eyelashes.

Let the cookies dry, uncovered, 6-8 hours or overnight.

(For a tutorial on the full horses, click here.  And for some *gorgeous* Derby Party inspiration, check out my friend Courtney's blog, Pizzazzerie!)
kentucky derby cookie tutorial | bake at 350

Hoof it on into your kitchen and make 'em. ;) 


decorating cookies badge photo decoratingcookiesbadge-1.jpg

Kamis, 18 April 2013

I Just Blogged to Say I Love You (Vol. 6)

vol 6 collage photo vol6collage.jpg
1. FIRST, my sister just had her 4th baby...and after 3 boys, she and her husband welcomed home a sweet baby girl, Rosie. ♥ She's precious, and sweet, and perfect...and her aunt is so happy to be able to shop in the GIRLS' section of baby Gap, Janie & Jack & mini Boden.

2. Speaking of shopping, will there ever be a day when I spend $258 on a pair of shoes?  If so, these babies are first on my list.  I think I'd need two pair because I'd wear them every.day.

3. These cookies are just another example of why Gail is one of my cookie heroes.

4. And is this ruffle flower "corsage" for a cupcake not gorgeous?!?  It looks fairly simple, too.  You know, the way things on Pinterest look simple until you try them.

5. My dad orders his Reuben sandwiches on white bread. I've also seen him order strawberry ice cream with gummy bear mix-in in a chocolate dipped cone, but I digress.  I'm thinking these Reuben Egg Rolls are a step up in the Reuben department from either white OR rye bread.

6. Can we talk eyelashes?  Mine were falling out. This was not good.  So, I tried one of those eyelash serums.  Y'all...it WORKED. After about 3-4 weeks, I could see longer lashes and no more fallout.  I actually had to stop using it for a bit because my eyelashes were getting too long. (FYI: it took a couple of applications for me to get the hang of applying it TO my lashes and not IN my eyeballs.)

7. Running: I'm still doing it. (Miracle of miracles.) Here are my 3 current fav running songs: Bad Reputation, Joan Jett; Gunpowder & Lead, Miranda Lambert; Hell on Heels, Pistol Annies.  Apparently, running turns me into some sort of bad girl.  I do balance it out with a little Hold Us Together, Matt Maher.

8. Oh!  Have you read Firefly Lane?  I absolutely loved it.  There's a follow-up coming out soon...later this month.  I can't wait to dive in.

What are YOU loving lately (especially in the running songs department)?  I'd love to hear!


Minggu, 14 April 2013

How-to Texas Cookies...part two

Alrighty, let's talk about the rest of those Texas Cookies.
texas cookie tutorial | bake at 350
(Remember the cookies?  And part one?  Ok...good.)

By far, I've gotten the most emails and comments and "how'd you do that" about the Texas map cookies.  The cookies that I took approximately zero pictures of while I was making them.  Don't worry, they're easy.
map of Texas cookie tutorial | bake at 350
  1. You'll need an icing printer, or access to one.  Many grocery stores and baking supply shops have them and will print images for you.  I bought a compatible printer recommended by Icing Images and their edible ink cartridges.  I also used Icing Images frosting sheets and I recommend them highly.
  2. No matter if you print them yourself, or have the sheets printed, you'll need an image.  You can either find one online or scan an image.
  3. Once you have a digital image, view it at 100% and hold your cookie cutter up to the screen.  I know it sounds silly.  Scale your image to be just a bit smaller than your cutter.  You'll see that the Texas cookie image doesn't line up exactly with my cookie cutter, but I was ok with that.
  4. Print the image, or save to a flash drive and have printed.  Put as many images on one sheet as you can.
  5. Cover the cookie with thinned royal icing and gently press the image onto the icing, making sure the edges are pressed down.  
  6. Allow 24 hours to dry.  Add a border to finish the cookie.  Here, I outlined the image in black to coordinate with the rest of the set and added a star for Jim's hometown.
  7. More tips for working with images printed on frosting sheets are here. (Note: this is an older post...the tips are the same, but I now have a different printer, inks and paper. See #1 above.)

The hats, boots and stars were just simple outline and fill cookies with a little details added at the end.
To make them, you'll need:

  • sugar cookies in hat, boot and star shapes.
  • royal icing, divided and tinted with AmeriColor Super Black, Chocolate Brown, Bright White, and Egg Yellow
  • disposable icing bags
  • coupler and tips: #2, #1
  • squeeze bottles 
  • toothpicks
  • silver luster dust
  • vodka
  • small (clean) paintbrush
  • small ramekin
texas cookie tutorial | bake at 350
Outline all of the shapes using a #2 tip in black icing.  Pipe a heel on the boot.  Because we're using black icing, let the cookies dry for 1 hour before filling.  Reserve some of the black and yellow icings before thinning for adding details later.

Thin the brown, yellow and black icings with water, a bit at a time, stirring with a silicone spatula, until it is the consistency of a thick syrup.  (Reserve some of the blue icing for piping details later.) You'll want to drop a "ribbon" of icing back into the bowl and have it disappear in a count of "one thousand one, one thousand two." Four is too thick, one is too thin.  Count of 2-3 is good.  Cover with a damp dishcloth and let sit for several minutes.

Stir gently with a silicone spatula to pop and large air bubbles that have formed.  Pour into squeeze bottles as needed.

texas cookie tutorial | bake at 350
Flood the cookies, filling in the outlines. Use toothpicks to spread the icing and pop any large air bubbles that have formed.  Let the cookies dry at least one hour.

Add details:
texas & cowboy boot cookie tutorial | bake at 350
  • Pipe a star on the cowboy hat in yellow with a #1 or #2 tip,
  • use a #1 tip to add a star and spur on the boots in white,
  • use a #2 tip to add black detailing to the boots,
  • use a #1 tip to add lines to make a "Texas Star" on the yellow.
texas cookie tutorial | bake at 350
Let the cookies dry, uncovered, 6-8 hours or overnight.

The next day, mix a bit of luster dust with vodka.  Brush onto the star and spur on the boots.  The alcohol will evaporate, just leaving the silver...and it will dry very quickly.
texas & cowboy boot cookie tutorial | bake at 350
The Texas flag cookies are a simple outline and fill as well using the same black food coloring, Super Red, Royal Blue and Bright White.

Sing it with me now...
"The stars and night are big and bright
deep in the heart of Texas!

The prairie sky is wide and high
deep in the heart of Texas!"


decorating cookies badge photo decoratingcookiesbadge-1.jpg

Kamis, 11 April 2013

Whoppers Chocolate Malt Frosted Brownies

whoppers brownies tray photo whoppersbrowniestraymilk.jpg
I sometimes forget how much I love Whoppers.  They're so unassuming.  No oozy caramel, no nuts, no nougat...just the perfect little malted milk ball.

Whoppers are just so darn fun.  I guess it's the shape.  Plus 18 pieces for 190 calories?  
Hellooooooo, bikini. 
*just writing that is making me laugh*

Not that we're counting calories here...we're making brownies.  Oh yes!
whoppers brownies tray above photo whoppersbrowniestrayabove.jpg
We're starting with a box mix (sue me), adding a little malt flavor, then topping the whole thing off with a milk chocolate-malt ganache frosting.  And, of course, we're adding Whoppers in wherever we can.

Feel free to use a homemade brownie recipe here, but Ghiradelli makes a delicious, fudgy mix.  Let's vow right now to stop feeling guilty...and making each other feel guilty...for using a mix.  K? K.  I have plenty of items on my list for confession and using a boxed brownie mix isn't one of them.

whoppers brownies close photo whoppersbrowniesclose.jpg
Look at that FROSTING!!!  And that fudgy brownie underneath?!?  You guys...these brownies are EPIC!!!  Epic!  (Do people say "epic?"  People over 40? If not, please ignore and replace with "freakingdelicious.")

print recipe photo printrecipe.jpg
Whoppers Chocolate Malt Frosted Brownies

brownies:
1 egg
1/4 cup water
1/3 cup vegetable oil
18 oz Ghiradelli Double Chocolate Brownie mix
1/4 cup original malted milk powder
1/2 cup coarsely chopped Whoppers

frosting:
1 cup heavy cream
3 TBSP original malted milk powder
11.5-12 oz milk chocolate chips
1/2 cup coarsely chopped Whoppers

Preheat oven to 325 and grease an 8x8 baking pan.

Stir together the egg, water, and oil.  Add in the brownie mix and malted milk powder and stir until combined.

whoppers brownies batter photo whoppersbrowniesbatter.jpg
Pour the batter into the baking pan and scatter the chopped Whoppers on top.  Lightly press into the batter.  Bake for 39-45 minutes, or until done.

whoppers brownies baked photo whoppersbrowniesbaked.jpg
Cool completely on a wire cooling rack before frosting.

Meanwhile, make the frosting.  In a saucepan, heat the cream until simmering.  Remove from heat and whisk in the malted milk powder.

Place the chocolate chips in a bowl and pour the hot cream over the top.  Let sit undisturbed for 5 minutes, then stir gently until smooth.

whoppers brownies ganache photo whoppersbrowniesganache.jpg
Place this bowl in an ice water bath and stir occasionally while the frosting thickens and cools.  You can put this in the fridge without the water bath, stirring occasionally, it will just take longer.  Once the frosting is totally cooled and thickened, place in the bowl of an electric mixer and beat for 1-2 minutes.  The frosting will become lighter in color.

whoppers brownies frosted photo whoppersbrowniesfrosted.jpg
Spread about 2/3 of the frosting onto the cooled brownies. (Use the rest to spread on graham crackers OR...add some to the leftover fudge ripple from yesterday, add ice cream and make a chocolate malt!  Oh my gosh!) Scatter with the chopped Whoppers.

Cut and serve immediately (a bench scraper makes an easy way to cut...and I love this mini spatula from Pampered Chef), or store in the fridge.
whoppers brownies frosting close photo whoppersbrowniesfrostingclose.jpg
You KNOW you want to swoop your finger through that frosting!!!

candy bar week logo photo candybarweeklogo.jpg
Bringing you Candy Bar Week with Shelly & Kristan has been a little like sitting at the cool girls' lunch table.  
Except I don't know what that was like, I sat with the choir/drama nerds and other general misfits.

Today, cool girl Kristan is bringing you Peppermint Patty Bombes!
(Earlier this week, she baked up Heath Bar Salted Caramel Brownie Trifles and Mounds Layer Cake.)

Cool girl Shelly is bringing 3 Musketeer Fudge Brownies today!
(And earlier this week, she created Take 5 Bars and Whatchamacallit Popcorn.)


I am officially fat and happy...how about you?!?


Selasa, 09 April 2013

Ritter Sport Dark Chocolate with Marzipan ICE CREAM!

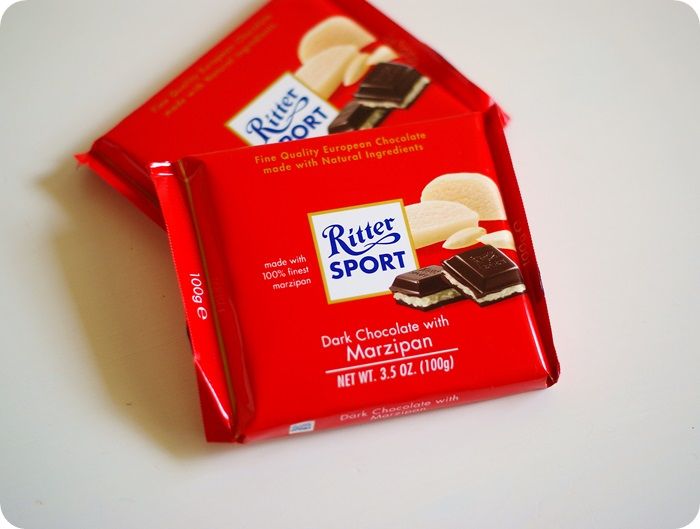
I'm not that sure I can adequately describe my love for the Ritter Sport Dark Chocolate with Marzipan bar. 
ritter sport bars photo rittersportbarspaste10.jpg
It completes me.

My love for it may surpass my love for Don Draper.  (This is going to be Mr. E's most favorite post ever.)

ritter sport ice cream photo rittersporticecream.jpg
If I were on death row, they would certainly be part of my last meal...along with tiramisu, caramel brownies, and a Grimaldi's pizza.  And an amaretto sour.  Or seven.

I always, always have one of these bars in my "chocolate basket" (you have one, don't you?), just waiting there for me to break off a few squares. (A minimum of 4 squares, and up to 8.  Per sitting.  Sittings may occur every 30 seconds.)

ritter sport cone photo rittersportcone.jpg
Ok...I think you feel the love that I have for these bars now.  I obviously wanted to do *something* with them for Candy Bar Week, but honestly, I was afraid baking with them would ruin their perfection.  Making my own would just defeat the purpose...I love them as is.

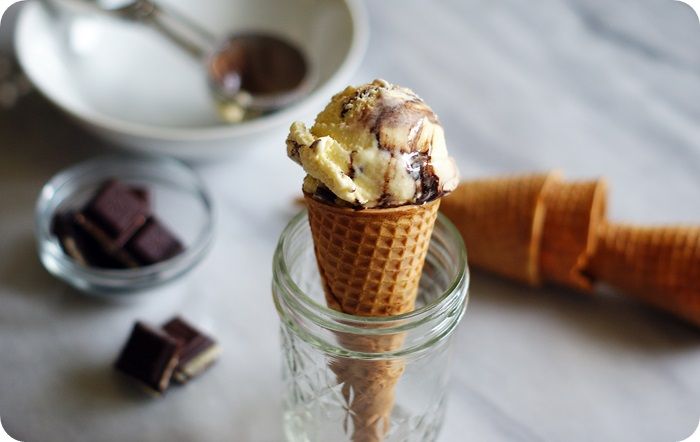
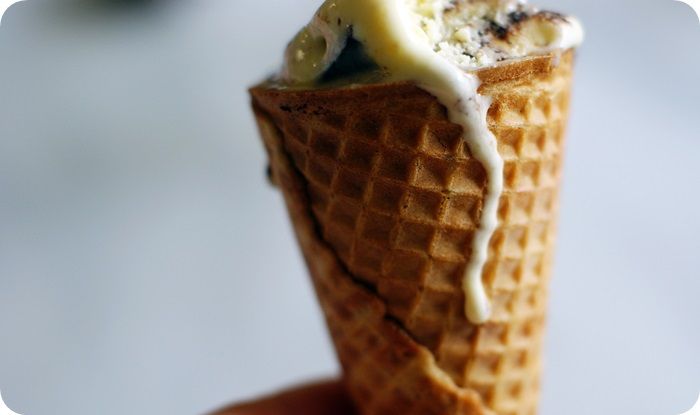
I decided to add them to ice cream. 

ritter sport left photo rittersporticecreamleft.jpg
Using the ice cream method found in 
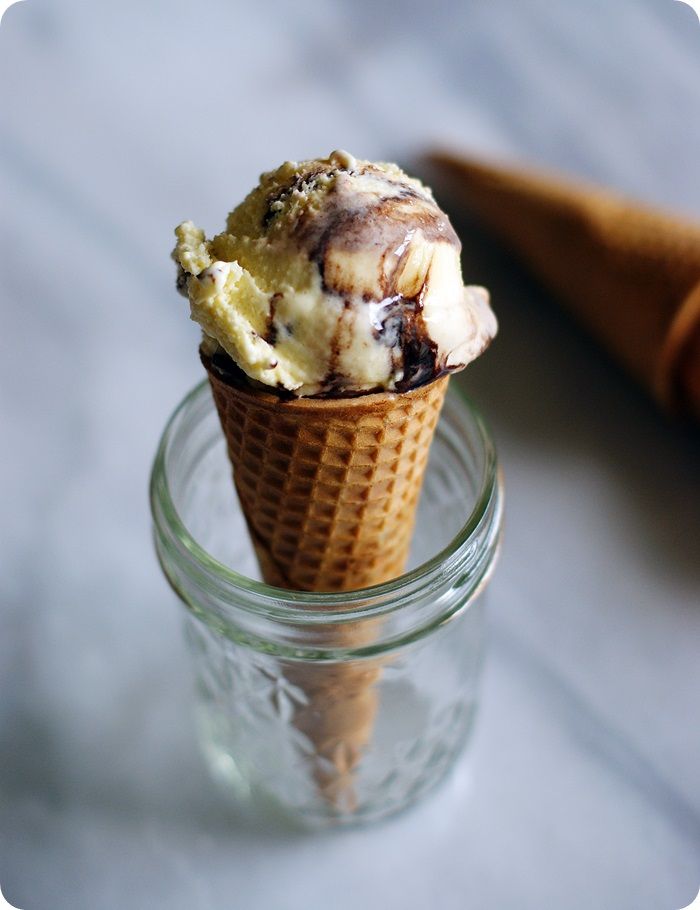
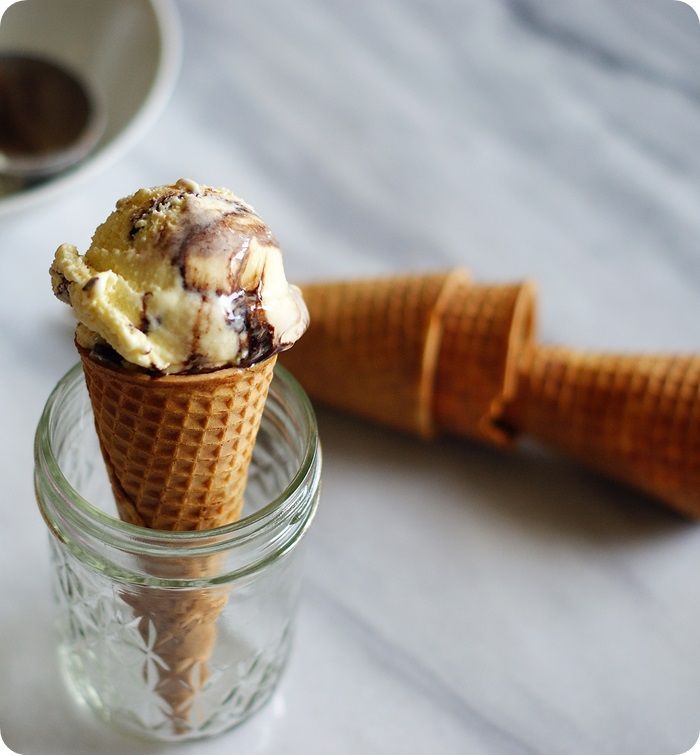
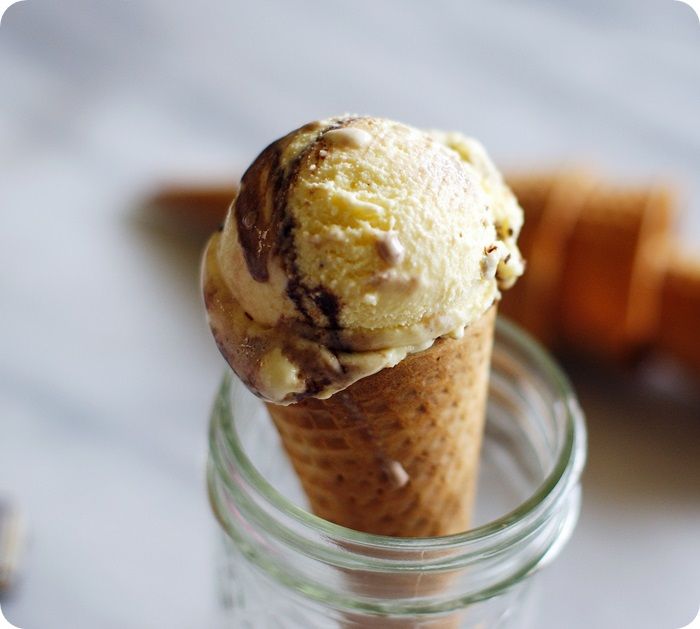
Sweet Cream and Sugar Cones (thanks for the rec, Andy & Monique!), I created an almond ice cream, flavored with almond paste, swirled with a fudge ripple, and strewn with chunks of my beloved Ritter Sport.  Angels were singing.

If you love these Ritter Sports, or almond, or chocolate, or ice cream...I BEG you to make this.  It tastes like a cold, creamy Ritter Sport with Marzipan.   
This ice cream is seriously one of my favorite recipes I've featured on the blog. LOVE. IT.

print recipe photo printrecipe.jpg
Ritter Sport Dark Chocolate with Marzipan Ice Cream

for the ice cream:
5 egg yolks
7 ounces 
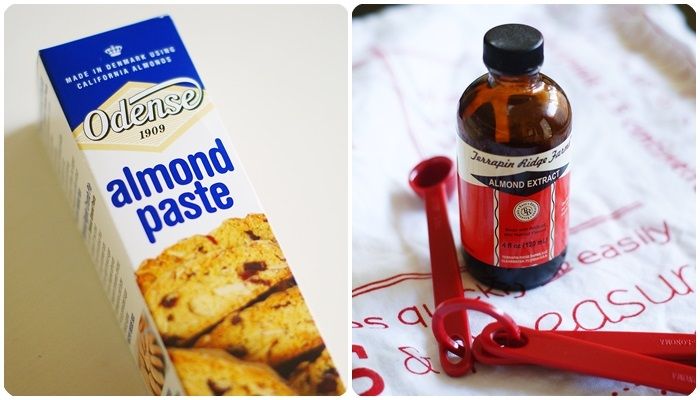
almond paste (not marzipan)
2/3 cup sugar, divided
2 cups heavy cream
1 cup milk
1/4 teaspoon kosher salt
1/2 teaspoon pure almond extract
20 squares (1 & 1/4 bars) Ritter Sport Dark Chocolate with Marzipan
1/3 cup fudge ripple

for the fudge ripple:
1/2 cup + 2 TBSP sugar
1/2 cup water
6 TBSP dutch-process cocoa
1/4 cup light corn syrup
1/8 teaspoon kosher salt
1 ounce bittersweet chocolate, chopped
1/2 teaspoon pure vanilla extract
(fudge ripple recipe from Sweet Cream & Sugar Cones)

make the cream base:
ritter sport prep photo rittersportbarsprep.jpg
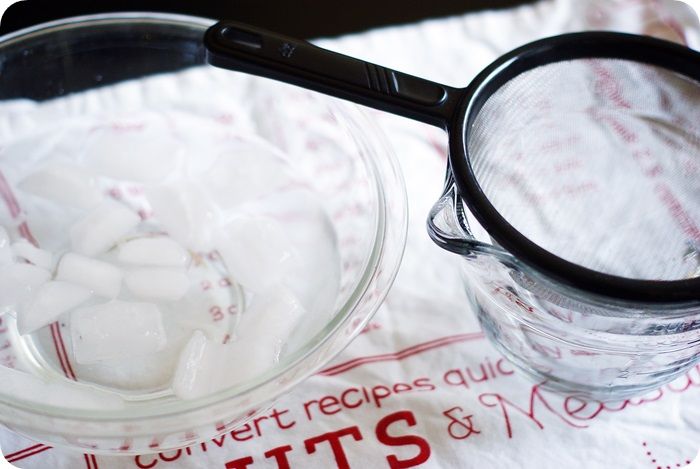
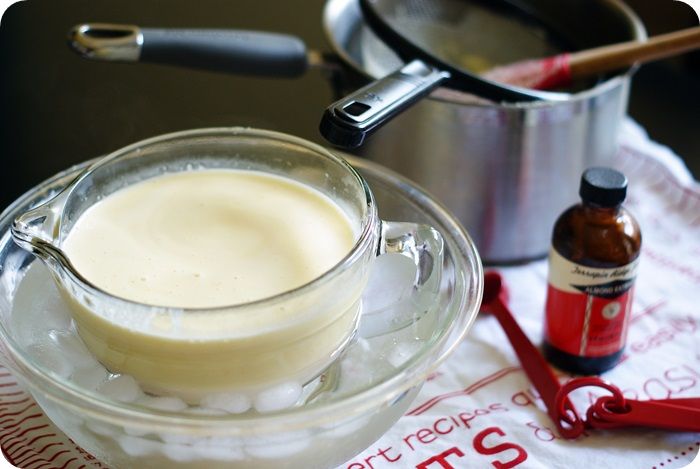
Prepare an ice bath in a large bowl and place a fine mesh strainer over a smaller bowl/4-cup measuring cup.  Set aside.

Beat egg yolks, 1/3 cup sugar, and almond paste together until smooth, about 2 minutes.

ritter sport almond photo rittersportalmondcollage.jpg
In a medium saucepan, combine the remaining sugar, cream, milk and salt.  Heat over medium-high heat until bubbles form around the edge and the mixture is almost or at a simmer.  Reduce heat to medium/medium-low.

Scoop 1/2 cup of the cream mixture into the egg yolk mixture and whisk until combined.  Repeat with one more 1/2 cup scoop of the cream.

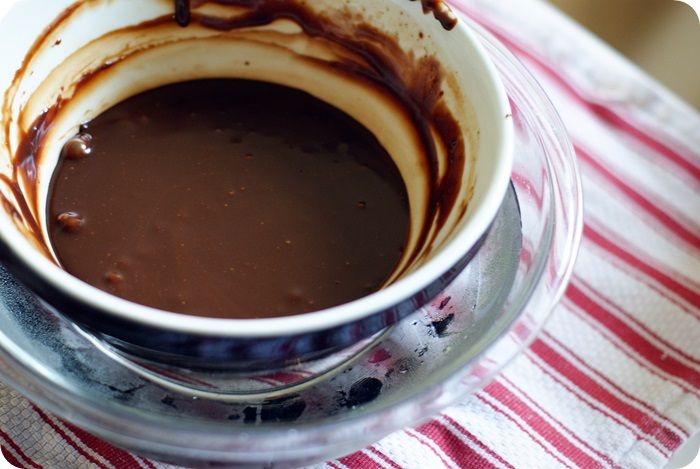
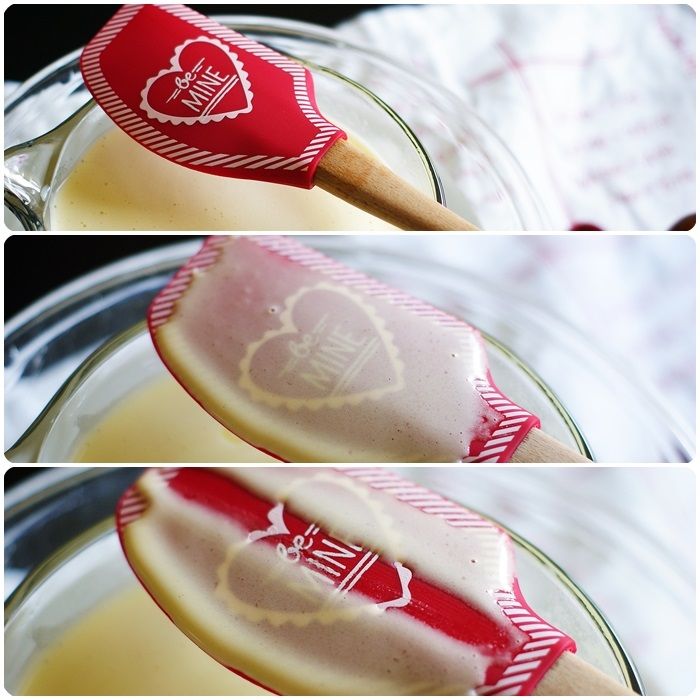
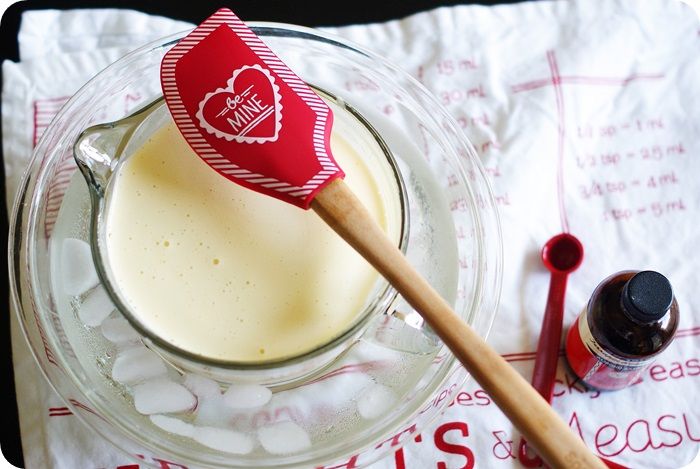
Stir the cream in the pan while slowly pouring in the egg yolk mixture. Stir and heat for 1-4 more minutes, until the mixture has thickened, coats the back of a spoon, and holds a clear path when a finger is run across it.
ritter sport spoon collage photo rittersportspooncollage.jpg
{You'll test this while it's in the pan, but I'm showing you here just so you know what you look for.} 

ritter sport ice bath photo rittersportbarsicebath.jpg
Immediately pour the mixture over a fine-mesh strainer placed over a bowl or large measuring cup. Stir in the almond extract. Place the container in the ice bath and stir occasionally, until cooled.

ritter sport ice bath top photo rittersportbarsicebathtop.jpg
(The cream will thicken more as it cools.) Remove from ice bath, cover with plastic wrap and refrigerate overnight.

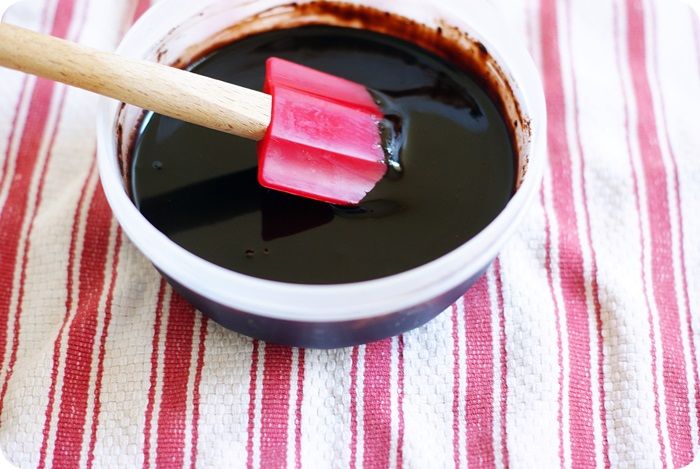
make the fudge ripple:
Combine the sugar, water, cocoa, corn syrup and salt in a saucepan. Whisk over medium-high heat until the mixture comes to a simmer.

Remove from the heat and add in the chopped chocolate.  Let sit for 1 minute.  Whisk the chocolate until smooth, then stir in the vanilla.  Let cool, then place in a container, cover and chill before using.
ritter sport fudge ripple photo rittersportbarsfudgeripple.jpg

make the ice cream:
The next day, coarsely chop the Ritter Sport bars.  Place chopped bars and container for storing the ice cream in the freezer while you process the chilled cream in your ice cream freezer.
(This is the one I have.)

Add in the chopped Ritter Sport during the last minute of churning.  Scoop the finished, soft ice cream into the chilled storage container, drizzling in the fudge ripple.  Press a piece of plastic wrap on top.  Freeze for several hours until firm.
ritter sport scoop photo rittersporticecreamscoop.jpg
Scoop, sigh, donate bathing suit to Goodwill. 

Remember...it IS Candy Bar Week!  That means you need to click on over to...

You know those girls are always up to something dangerous! ;)
ritter sport drip photo rittersporticecreamdrip.jpg