Here are cookie and recipes favorites from the blog this year...mine and yours (and kiddo's).
Let's start with these (your favorites)...
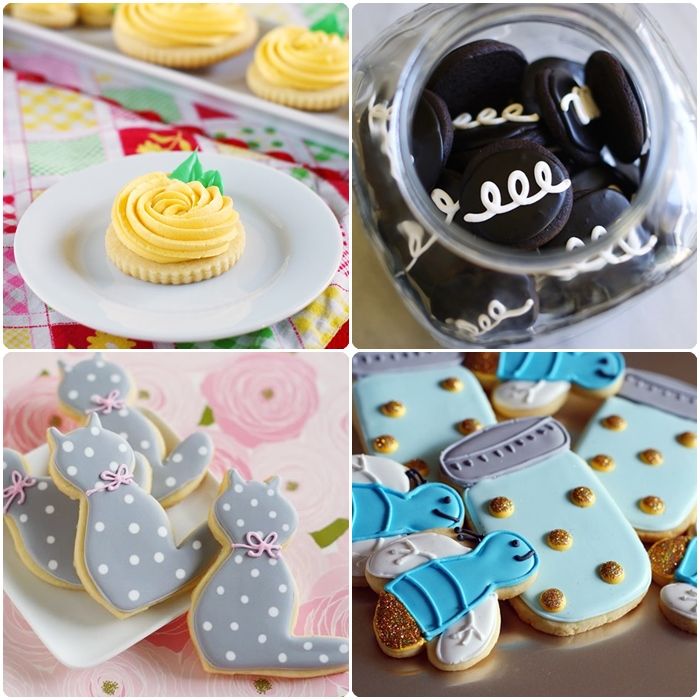
buttercream rose cookies for mom (This year I fell in love with buttercream on cookies.)
firefly and mason jar cookies
hostess cupcake cookies (with a chocolate glaze....mmm.)
hello (polka dot) kitty
Here's more...

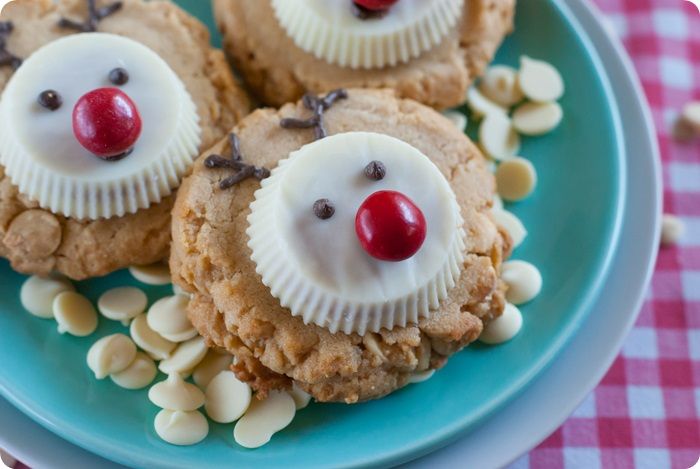
This picture was probably the most popular. It makes me smile every time I see it.
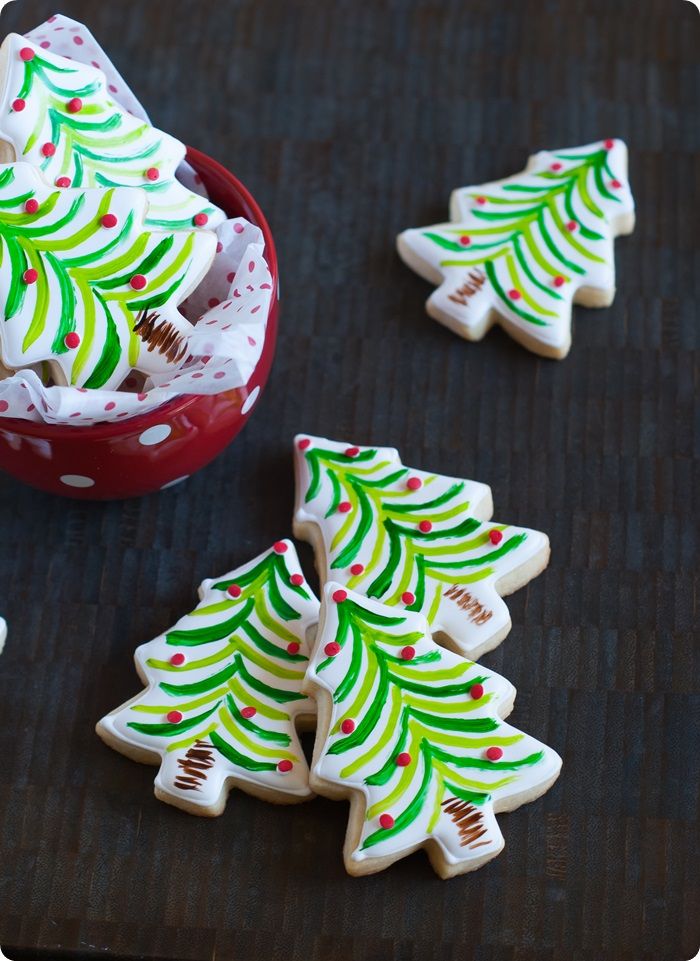
the stars at night...
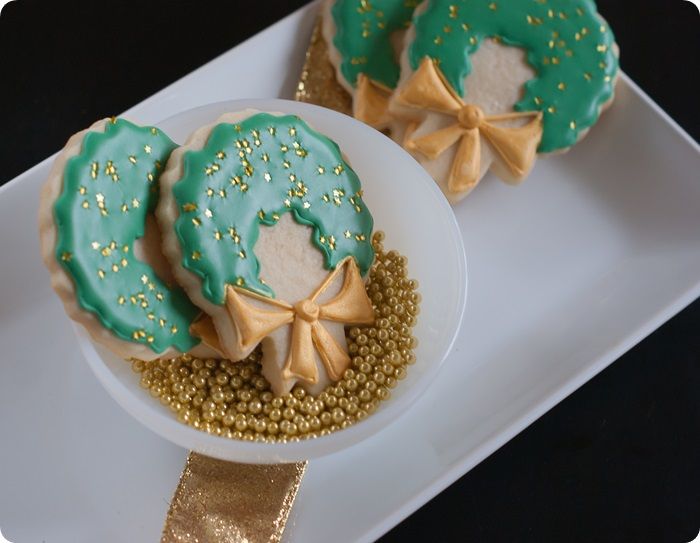
These cookies were some of my favorites to make:
all saints' day cookies
downton abbey love
rosie cookies
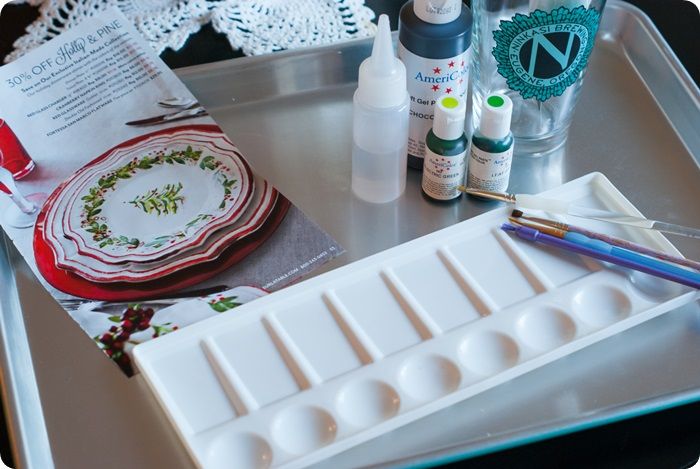
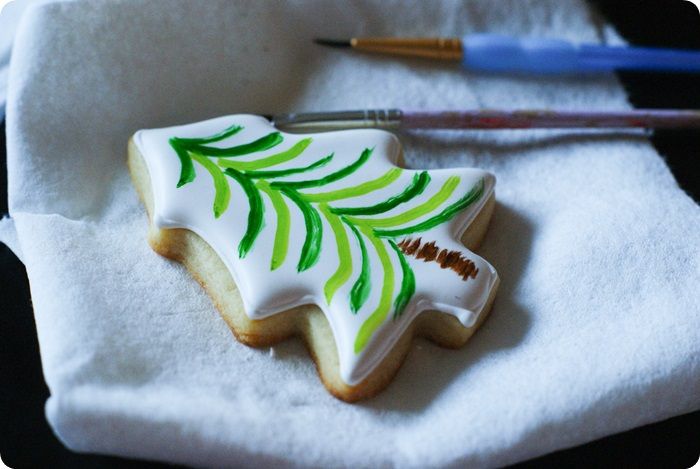
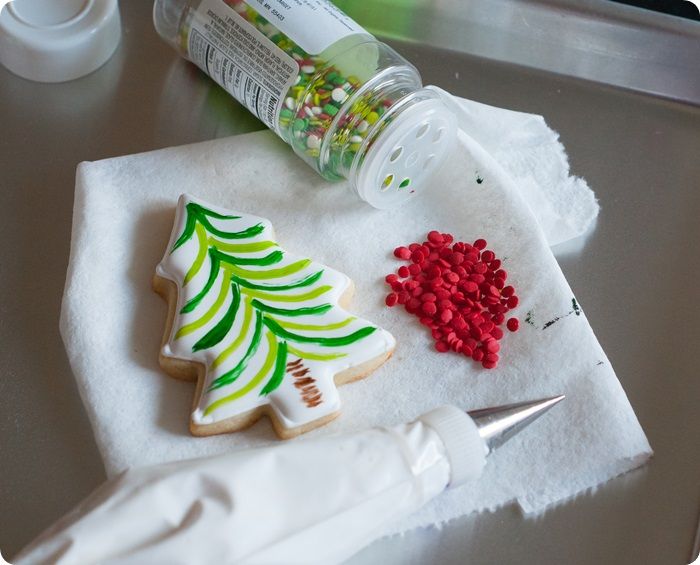
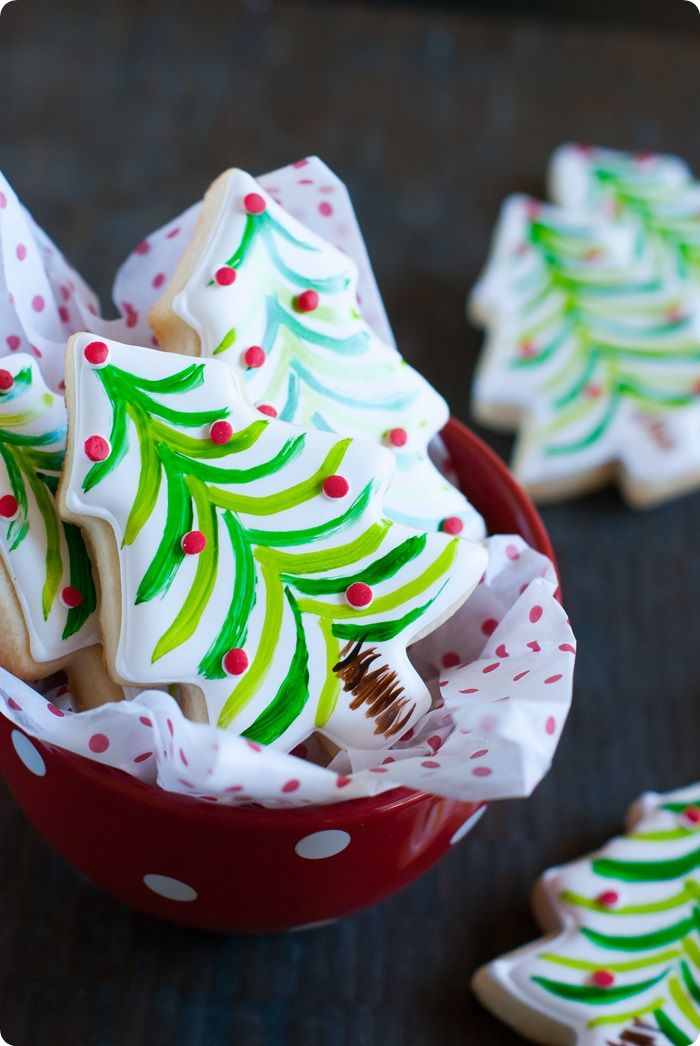
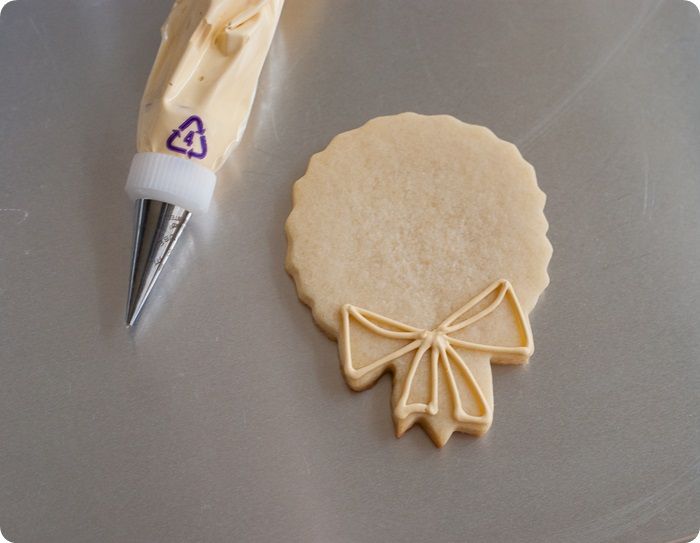
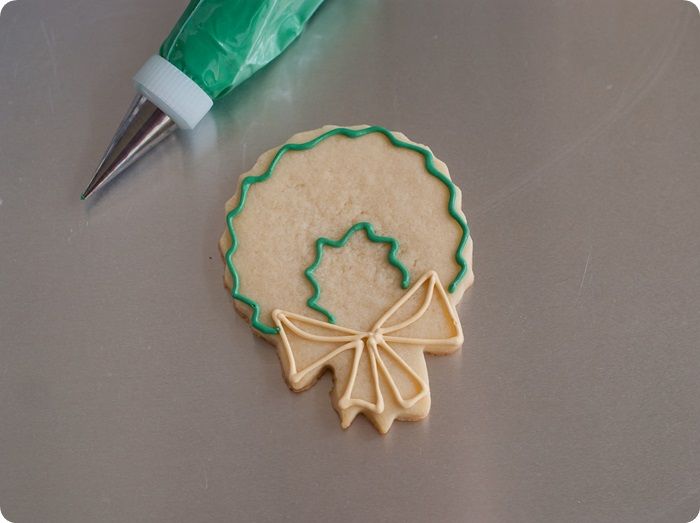
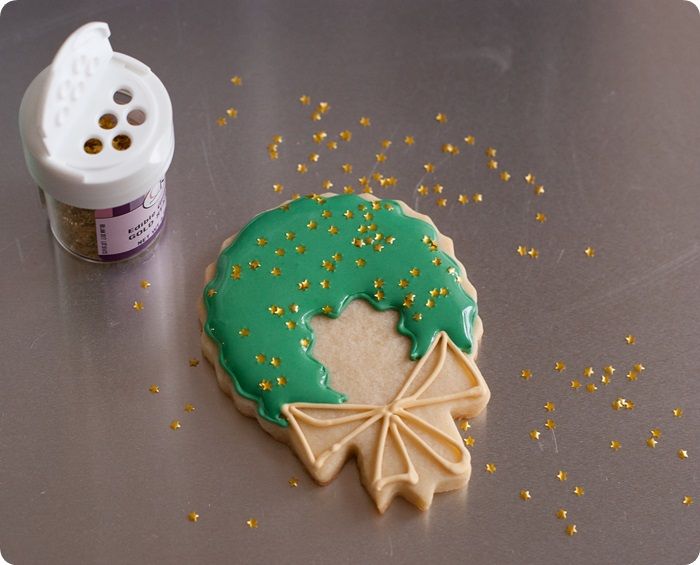
brush embroidery tutorial
little leprechauns
Your favorite recipes of 2013? Here ya go:
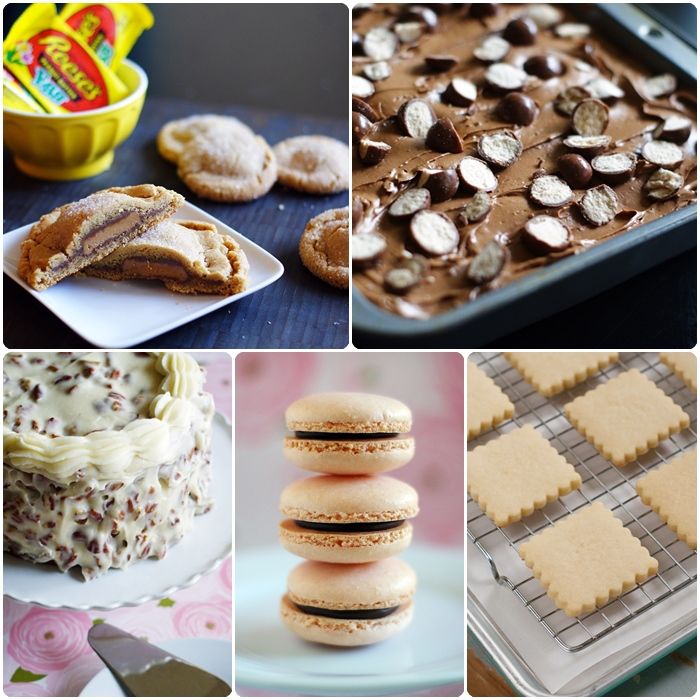
simple macarons (2013: my macaron obsession begins)
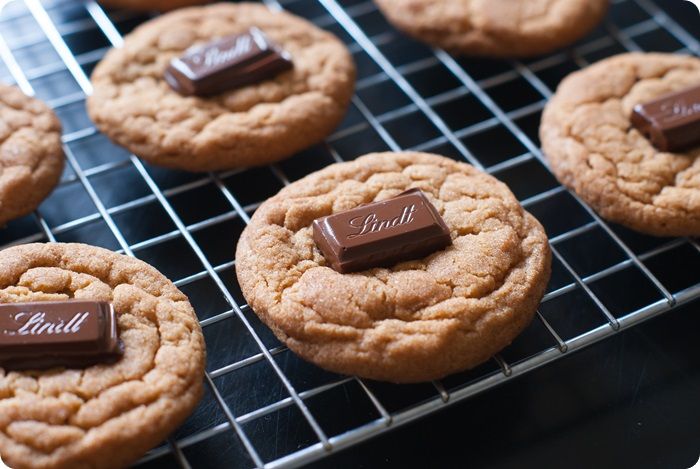
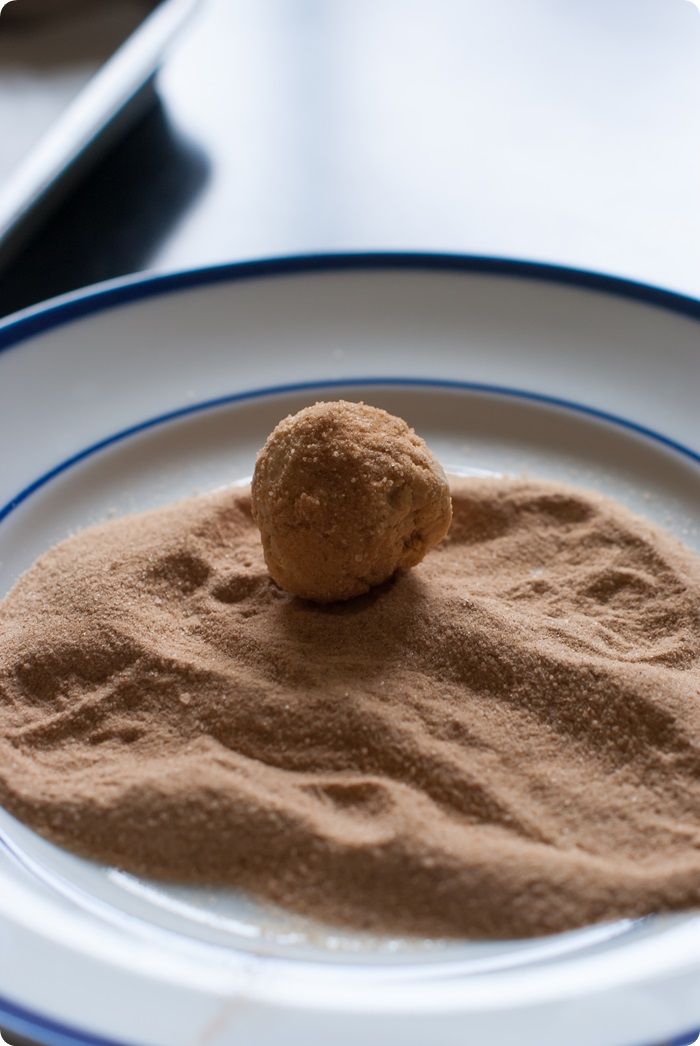
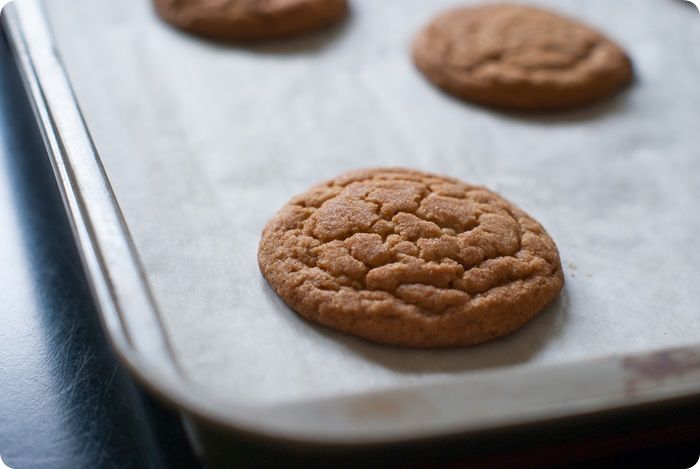
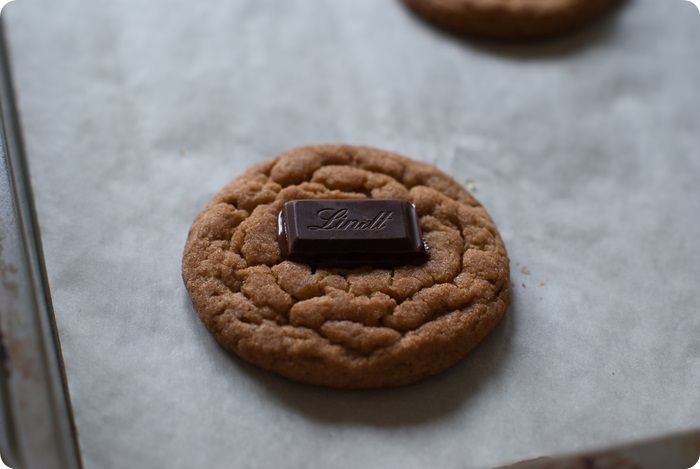
reese's peanut butter egg stuffed-peanut butter cookies
whoppers chocolate malt frosted brownies (these are kiddo's favorite)
mother knows best italian cream cake
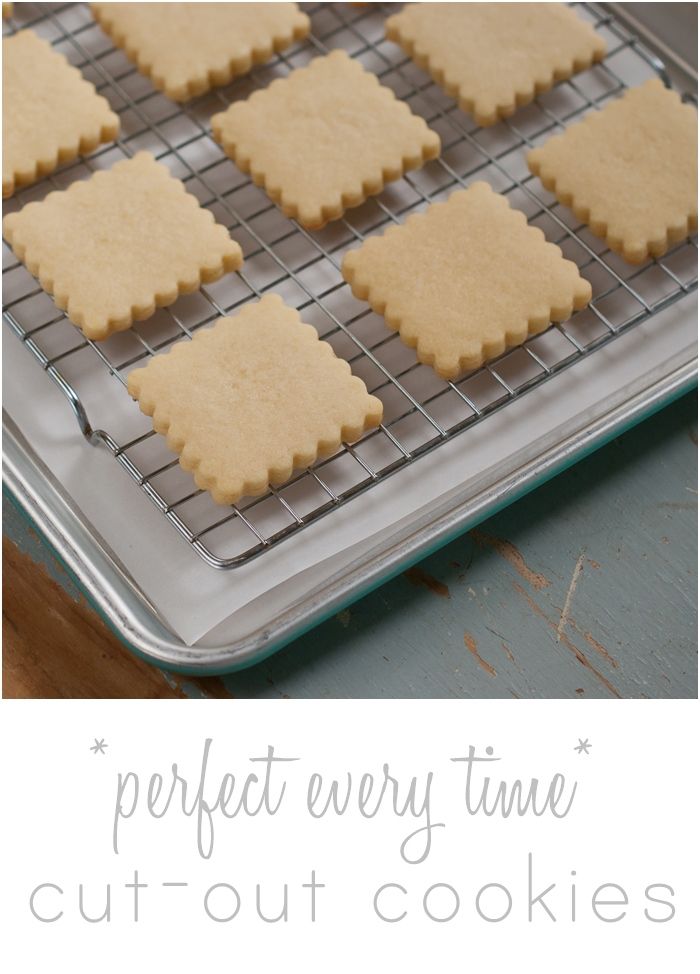
perfect every time cut-out cookies
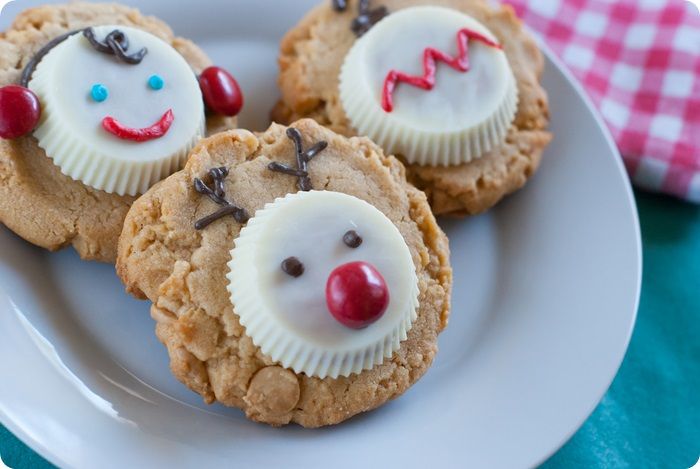
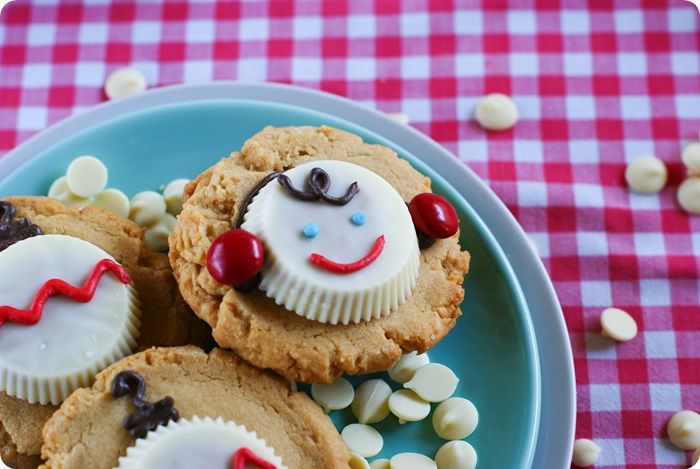
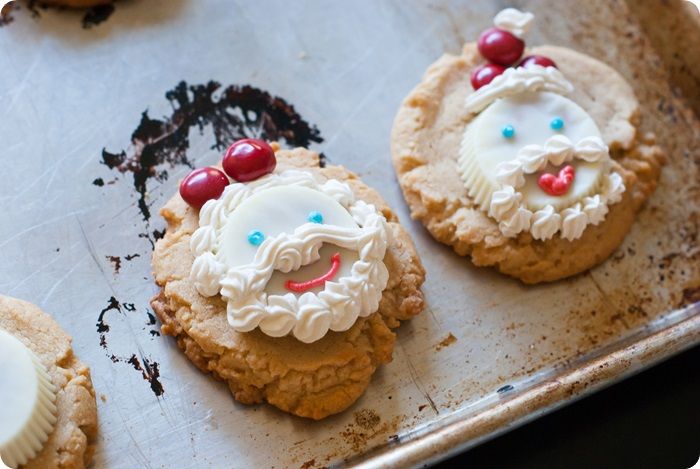
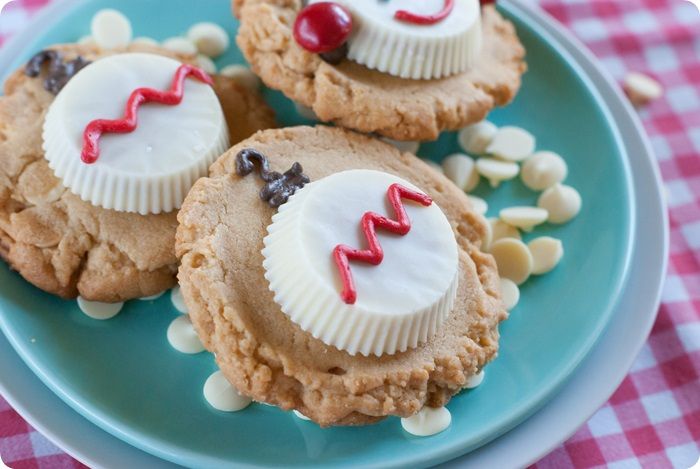
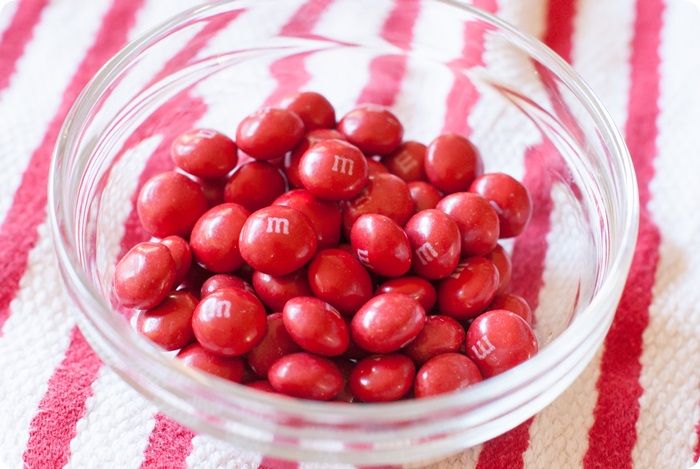
Social media favorite? These guys...
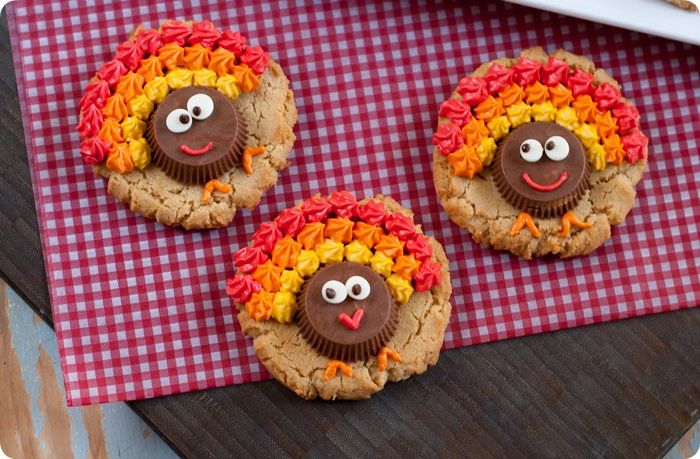
Did you know that Facebook only shows you a *fraction* of the posts on the pages you've liked? Typically, Facebook shows my posts to about 2% of the people who have liked my page. These guys, though, went Facebook-crazy. I don't know if Facebook likes peanut butter or turkeys, but the combo struck a chord.
The recipe that *I* have made the most this year from another blog?
How Sweet It Is' Crockpot Short Rib Tacos with Salted Lime Cabbage and Queso Fresco. It's embarrassing how many times I've made these this year. I crave them. I know when kiddo lets out a "woo hoo" when I tell him they're what's for dinner (again!) that I'm not alone. What blog post, from Bake at 350, your blog, or any other blog, was one of your favorites in 2013? Feel free to leave a link in the comments!